Import content and create the background texture

Before you can start working on a project in Kanzi Studio you first need to set it up. That is what you do in this step. You start working with material types, materials, and textures in the next step.

In this step you first create a new project, import the content to your project, and define the background for the scene of your project.

Assets for the tutorial

The assets you use in this tutorial are stored in <KanziWorkspace>/Tutorials/Materials textures and rendering/Assets:

Completed Kanzi Studio project directory contains the completed Kanzi Studio project of this tutorial.

Create a new Kanzi Studio project and import content

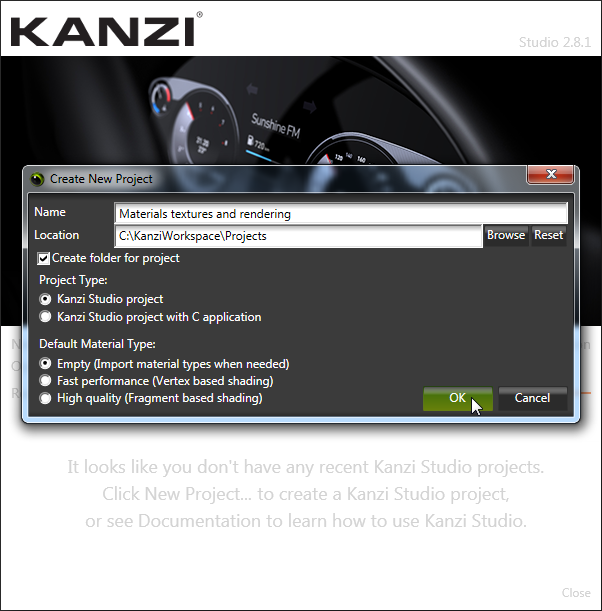
  1. In the Kanzi Studio Quick Start window click New Project...:

    Leave all other settings as they are, and click OK.


  2. Select File > Import Folder, go to <KanziWorkspace>/Tutorials/Materials textures and rendering, and click OK.
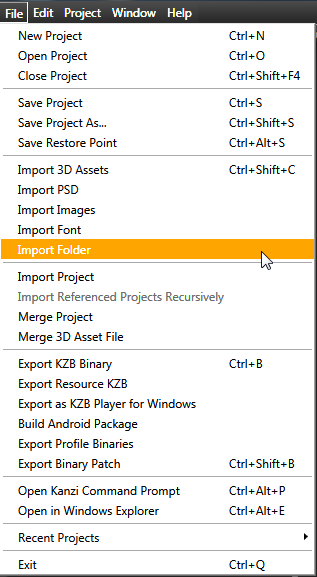
    The directory contains all 3D assets and images for textures you need in this tutorial.
  3. In the Library right-click Resource Files > 3D Assets > Car.fbx and select Import 3D Asset File.
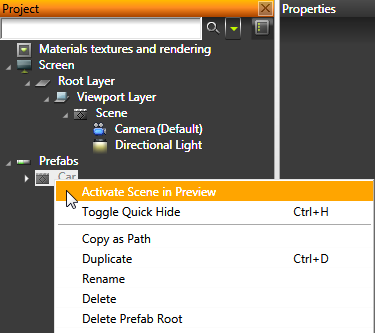
    Kanzi Studio imports the car model to your project, creates a new scene in your project, and places the imported 3D content into that scene.
  4. In the Project right-click Prefabs > Car and select Activate Scene in Preview, to make the imported content visible in the Preview.
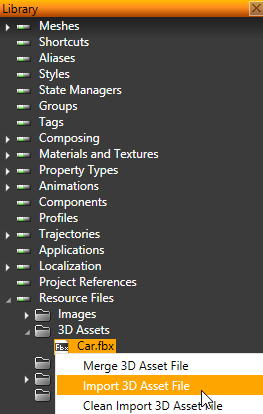
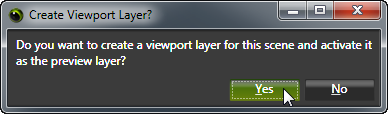
    When asked whether you want to create a viewport layer for the scene and activate it as the preview layer, click Yes.


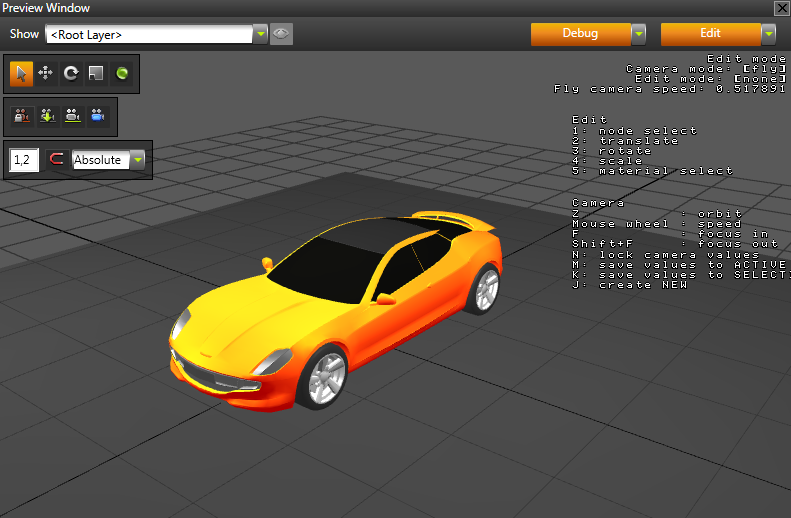
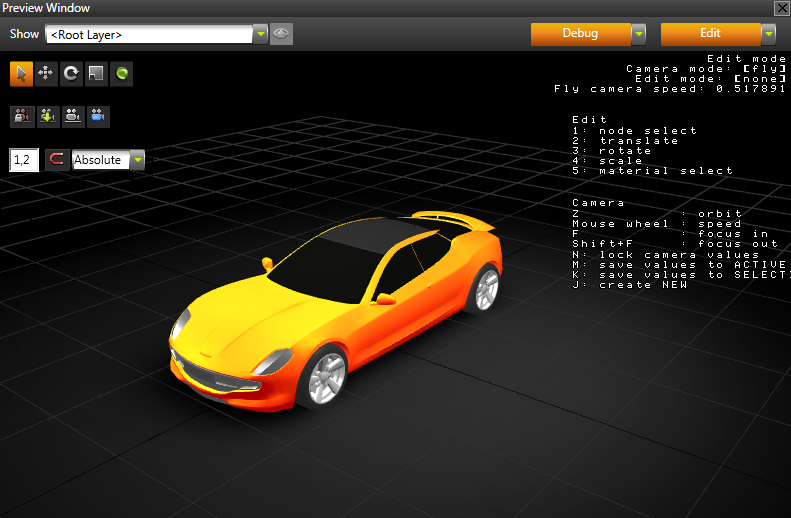
    You can now see the imported content in the Preview.
  5. If you are not already in the Edit mode, in the Preview click Edit.
  6. Move around the scene in the Preview to frame the scene.
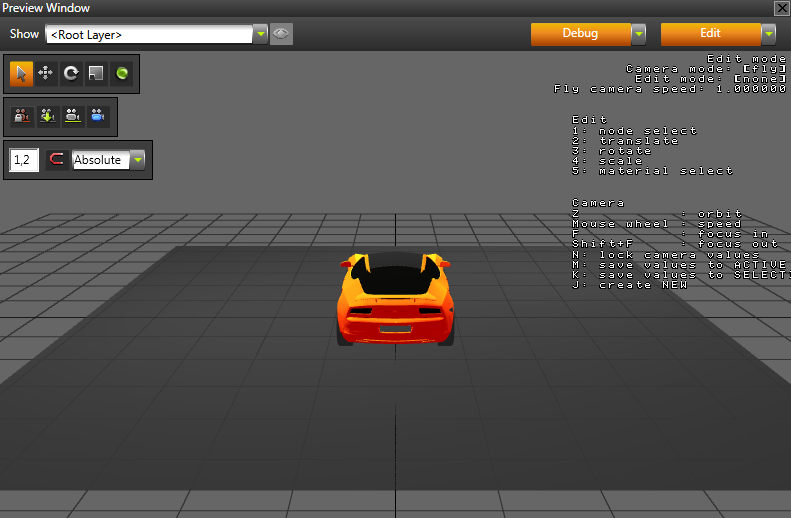
    When you move around the scene in the Edit mode you are using the free camera and not any of the cameras in the scene.
    To undo the change of position, click Edit to exit the Edit mode.

    Use these free camera controls to move around in the Preview.

    ControlDescription
    WMove forward.
    Hold down Shift to double the speed.
    SMove backward.
    Hold down Shift to double the speed.
    AMove left.
    Hold down Shift to double the speed.
    DMove right.
    Hold down Shift to double the speed.
    QTilt left.
    ETilt right.
    Click and drag the left mouse buttonRotate
    Click and drag the right mouse buttonPan
    Mouse scroll wheelSet camera speed.
    Hold down ZActivate the orbit camera.
    Use the orbit camera to rotate around the center point of the Preview.
    Hold down Z and mouse scroll wheelZoom
    FFocus on the object selected in the Project.
    Shift+FAfter focusing on the object selected in the Project, focus out.

Create the background

  1. In the Library right-click Materials and Textures > Textures and select Create > Single Texture.
  2. Name the texture RenderMapTexture and click OK.
    In the next step you add the image for the texture.
  3. In the Properties set the Image property to RenderMap.png.
  4. In the Library right-click Materials and Textures and select Load Material Type From Disk.
  5. Go to <KanziInstallation>/Studio/Asset Library/MaterialTypes/General, select PhongTextured.kzmat material type and click Open.
    Kanzi Studio adds PhongTextured material type to Materials and Textures > MaterialTypes.
    You can use this material type for all materials in which you want to use textures.
  6. In the Library select Materials and Textures > Materials > Floor_x1 material and set properties:
  7. Select Composing > Composers > Composer > Render Pass and set Color Buffer properties:

< PREVIOUS STEP

NEXT STEP >

See also

To find out more about importing content to your projects, see Importing.